(( How to... )) How to Upload Photos to Patterns
| Table of contents |
|---|
| 1 - Uploading photos through the Simple Uploader 2 - Re-sizing and Uploading photos through the Flash Uploader |
Uploading photos through the Simple Uploader
Suppose you want to upload this image on this site.

1. First check that the image file is located on your computer.
2. If the image is big, you need to resize it. Use a graphics program like Photoshop or use an online image shrinker like http://shrinkpictures.com and http://www.picmonkey.com.
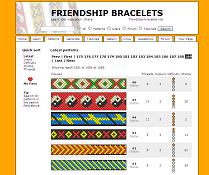
3. Locate the pattern on this site. You can search for it in the search field or find it on the patterns page (see image below). Go to the pattern by clicking on it.
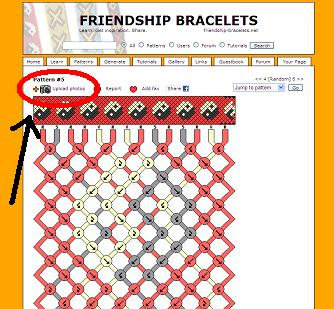
4. Now click the "Upload Photos" link. It is only visible if you are logged in (see image below).
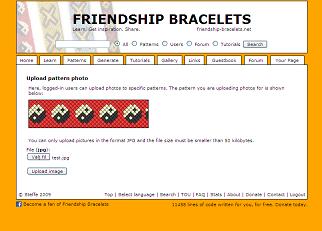
5. Press "Browse" and choose the file from your computer (see below image). Click OK. Then click Upload.
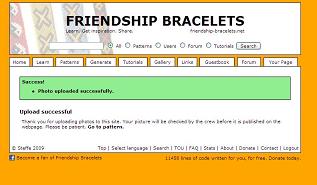
6. The image is uploaded! The moderators will have to check your image before it is published on the website. This can take up to 48 hours mostly.
I hope this tutorial helped you.
Stefan
_____________________________________________________________________
Re-sizing and Uploading photos through the Flash Uploader
Sometimes you just end up with a big file size and need to get past the regular 50 KB file size for photos.
Maybe, your OCD and Perfectionism kicks in (GUILTY!) and you just will not settle for a slightly distorted and/or unclear image as a result from shrinking/re-sizing the picture too much.
One way to avoid that is by using the flash uploader which takes up to 80 KB approx.
When you click "Add Photo" button for any pattern, the flash uploader is located as shown in the picture below

If your photo is naturally 80 KB or below, you do not need any re-sizing and you can directly go ahead and upload it through the flash uploader. But if it isn't, then you will have to re-size it to a more convenient dimension.
As mentioned above, you can use a variety of online photo editing sites to shrink your pictures and add necessary watermarks if needed. Below will guide you on how to do that through a great site called
PicMonkey that has always worked best for me personally.
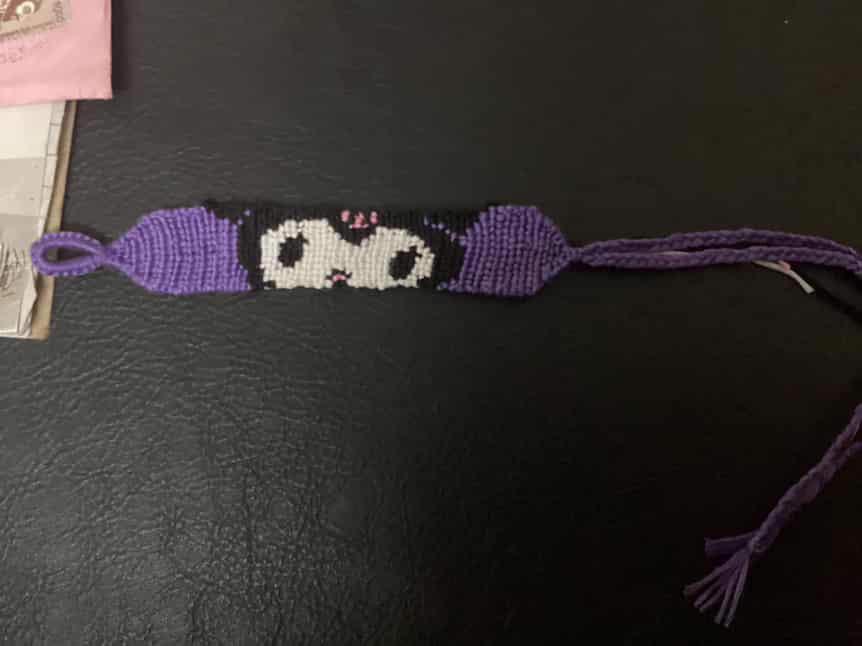
I will be using Pattern #1112 in this case.

Go to the site PicMonkey.
Once there, you can either choose to "edit" or make a "collage" out of your picture. I always go for the collage option, because you can experiment with picture height and width, by re-sizing it to the maximum size possible for the flash uploader and without losing much quality.

Hover your mouse over and upload the respective photo from your computer drive.
NOTE: Make sure you have added the necessary watermarks and edits (if required) to your picture before re-sizing as all that adds to your image size. Avoids the double work.
You will then be redirected to a page that looks like this with your selected picture in the left panel.

You can either cancel out the other 2 boxes, in order to re-size one whole picture or you can create a collage of the bracelet with different angles depending on personal choice. I will be using one whole picture for tutorial purpose
Drag the picture from the left panel to the empty box on the right.
Now before we experiment with re-sizing, let's have a look at what the size of our picture is first.
Click the save button and it will direct you to this page.

From above you can see that the picture is 301 KB which is too big of a file size for the flash uploader.
Now that we have estimated our picture size, press cancel and go back to the collage page.
==================================================================
I like to switch between between manually entering the height/width of the picture myself instead of dragging the sides of the picture.
The lock button as shown helps you do that.
Hover your mouse over lock iconif it says "unlock proportions"click- allows you to add height and width of your liking and it will stick to the specified choice[B]> press enter
Comparatively, Hover your mouse over lock icon if it says "lock proportions"click- allows you to either add height/width and proportions will be set automatically for the other[B]>press enter
Locked proportions

Unlocked Proportions

The difference between both is by using the unlocked proportions you can manually adjust the height and width of the picture to your liking and you can estimate photo dimensions that will will determine photo size,quality control etc.
==================================================================
Get rid of the white border which is set by default by clicking the last option on the left banel named "background" and then set "spacing" to 0 as shown below.

Next, proceed to adjusting the picture dimensions. As you can see, size *600 w X 600 ht* will not work for my picture as it hides my watermark.

Therefore, re-sizing it to 600 w X 700 ht and ending up with something like this where my watermark is now visible.

Let's again save our picture and see what our picture size has come up to.

As shown above, it is only 36.4 KB.
At this stage, you can either choose to upload your picture using the simple uploader because it is below 50 KB OR you can choose to upload a larger sized picture with the flash uploader.
Proceed if you still decide to use the flash uploader.
Now by trial and error, I have adjusted my picture size to 930 w X 980 ht. which is a big enough picture and when saved, comes up to 74.9 KB as shown below.


It is still lower than the size required as the flash uploader can take up to 80 KB. You can continue to adjust photo proportions or just stick to this. For tutorial purpose, I'll stick with this size.
Click "Save to my computer" and save it to your computer drive.
Next, to upload the re-sized picture onto the site
Go to the chosen pattern which in this case is #1112
Click "Add Photo"
Click "Use the Flash Uploader"
Click "Browse" -> Choose the recently edited and re-sized picture which in this case is the one that's 74.9 KB.
When you select the picture and wait for it to load, you will have a green line, which says you're good to go and that the flash uploader accepts your file size.

And if you upload a file size (above 80 KB) which the flash uploader doesn't accept, you get an error message like below

If accepted, wait for the picture to be uploaded and you will be directed to a confirmation page saying that your upload was successful!
Here's a preview of how images appear on the site with different dimensions:
930 w X 980 ht. (74.9 KB)

VS
250 w X 300 ht. (10.2 KB)

Therefore, you can see how re-sizing photo dimensions can determine the size and quality of pictures. It's all trial and error and once you get the hang of it, all it takes is a bit of effort and you will transition smoothly.
REMEMBER: The sizes as mentioned above will not necessarily apply universally as not everyone's picture quality is the same. Depending on the quality range of the equipment you use to take pictures, you would have to experiment with re-sizing to determine a suitable photo dimension and what will work best for you often.
For example: I use my Samsung Note 4 which has a 16 MP Camera, 5312 x 2988 pixels. And for all my pictures on here, with much trial and error, I found the size that works best for often are approx. along the dimensions of:
500 w X 860 ht. (vertical photos) and 700 w X 500 ht. (horizontal photos)
In the end, you can still end up with a fairly big sized, clear quality and reduced file size photo even below 80 KB!
That's all there is to it and hope that helps!
Cheers!
KnotterHolic
Editors
The original author of this tutorial is Stefan but it was also edited by Roseit, Hamlet22, creativitygirl, k_marie, Nadinchen and KnotterHolic.
Uploaded photos (see all 1352)

Comments